Showing posts with label diy. Show all posts

Friday, June 22, 2012

Turn Old Drawers Into Planters!


My front porch has desperately been needing planters for awhile now!  I'm way too cheap to spend lots on pots.  So I got to thinking what I could use for planters instead of having to buy pots....  I remembered seeing some old drawers in our shed.  (They were left behind when we bought our house)  Ah ha!  I can turn those old drawers into planters!  Yay!

{Turning Old Drawers Into Planters Tutorial}

Here's what you'll need....
old drawers
paint  (I used a poolside blue from Ace Hardware, quart)
paint brushes
sand paper
cute knobs

{Poolside Blue}  I'm pretty much in love with this color!


My cute glass knobs...


1}  Sand any loose paint or rough edges on the drawers.  (and clean them!  mine were really gross & dirty because they had been sitting in a shed for years & years & years I'm sure.)


Ooooooh!  Look how pretty that paint is!!  :)


2}  Start painting away!  I painted everything but the bottom inside of the drawer.  It will be covered with dirt, so you won't see it.


*I used this brilliant idea from Pinterest.  Use a rubberband to wipe off your paint brush so you don't drip & so you don't have to use the side of the can.  No mess!  Brilliant.


First coat, woohoo!


Just waiting for my drawers to dry....


I was surprised at how little paint I actually had to use.  I got a quart & only skimmed a little off the top.  I have lots left, good thing I love this color!  I can do more fun projects with it, yay  :)


My little dude & I had a paint party  :)  Isn't he so cute?!


4}  Grab that drill & drill holes in the bottom of your drawers so water can drain.  I did 5 holes total, 1 in each corner & 1 in the middle.


5}  Place cupcake liners over the holes so mud doesn't run out the bottom.  (idea found on Pinterest)


6}  Plant all your flowers.  I filled about 3/4 of my drawers with regular dirt, then the top with good potting soil.  Saves on cost.

Here's all my pretty flowers just waiting to be planted, yay! 
I used zinnias, marigolds, petunias, lobelias & catmint.


And here they are!  Love love love them  :)
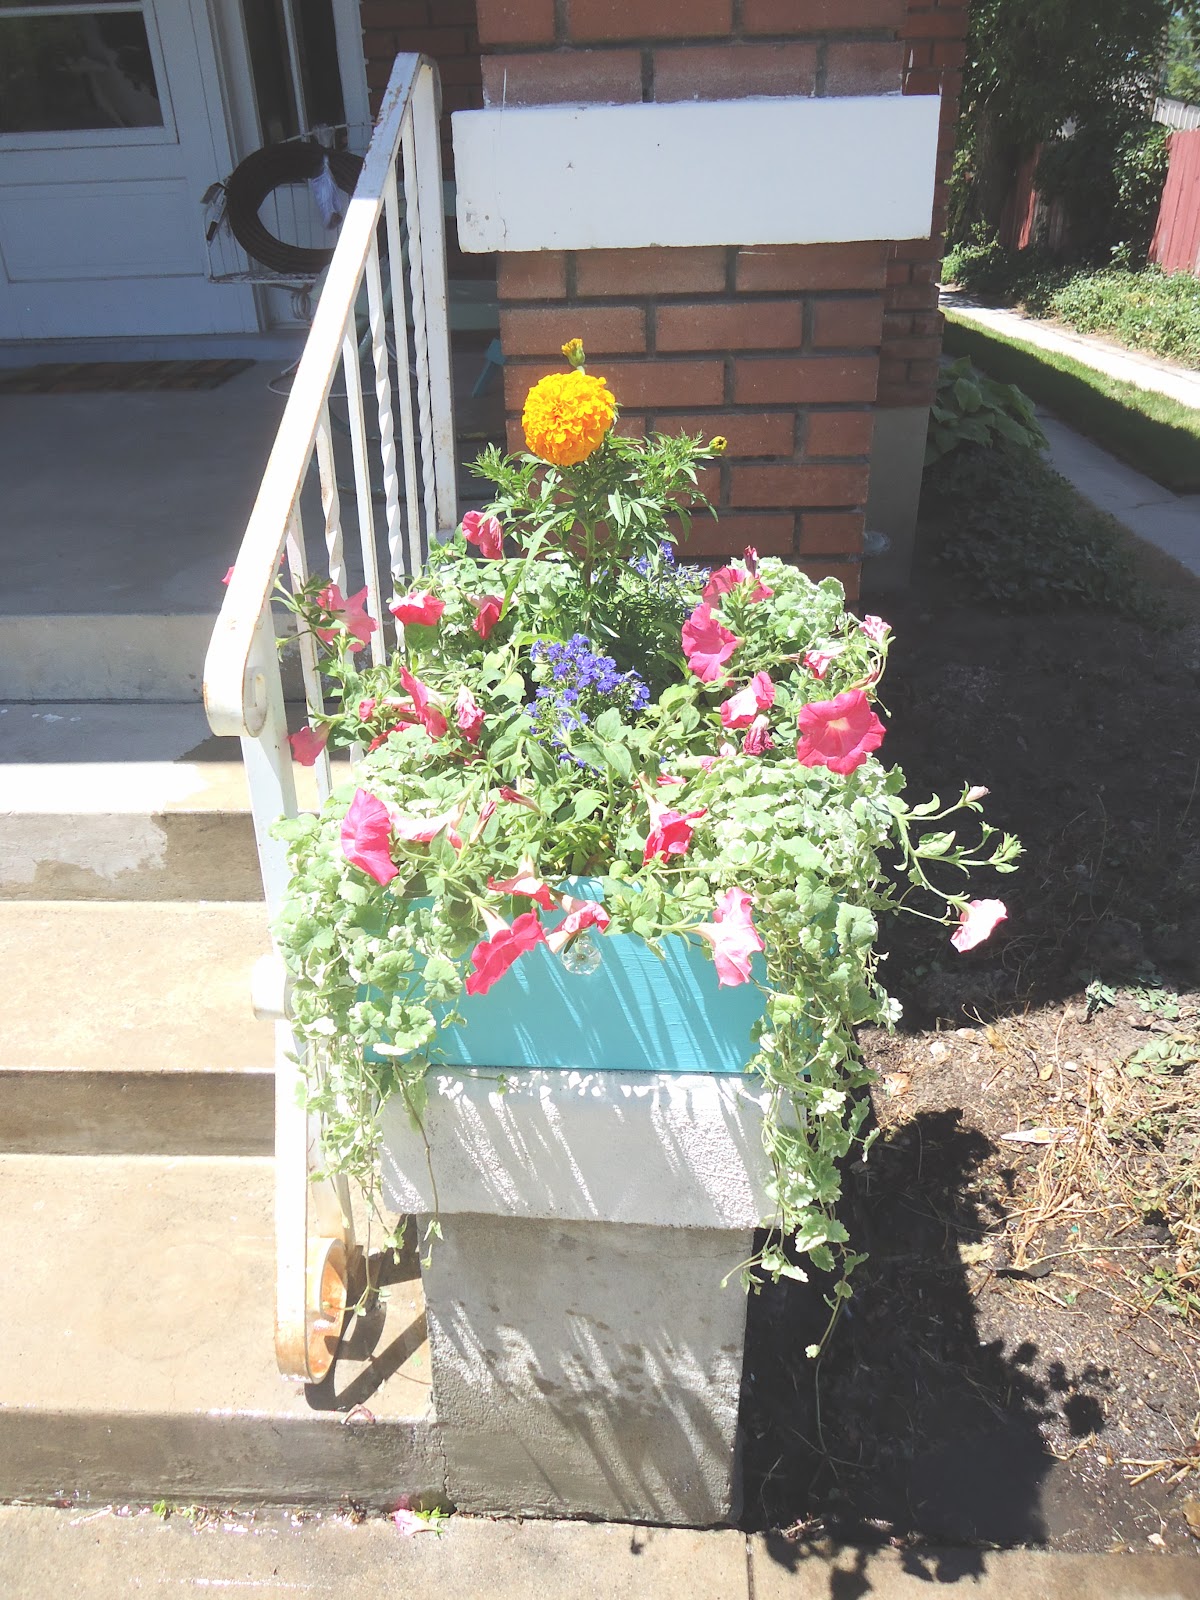


7}  Add your knobs.  My knobs didn't have screws, so I just glued them to the front.  Love that extra  little touch.
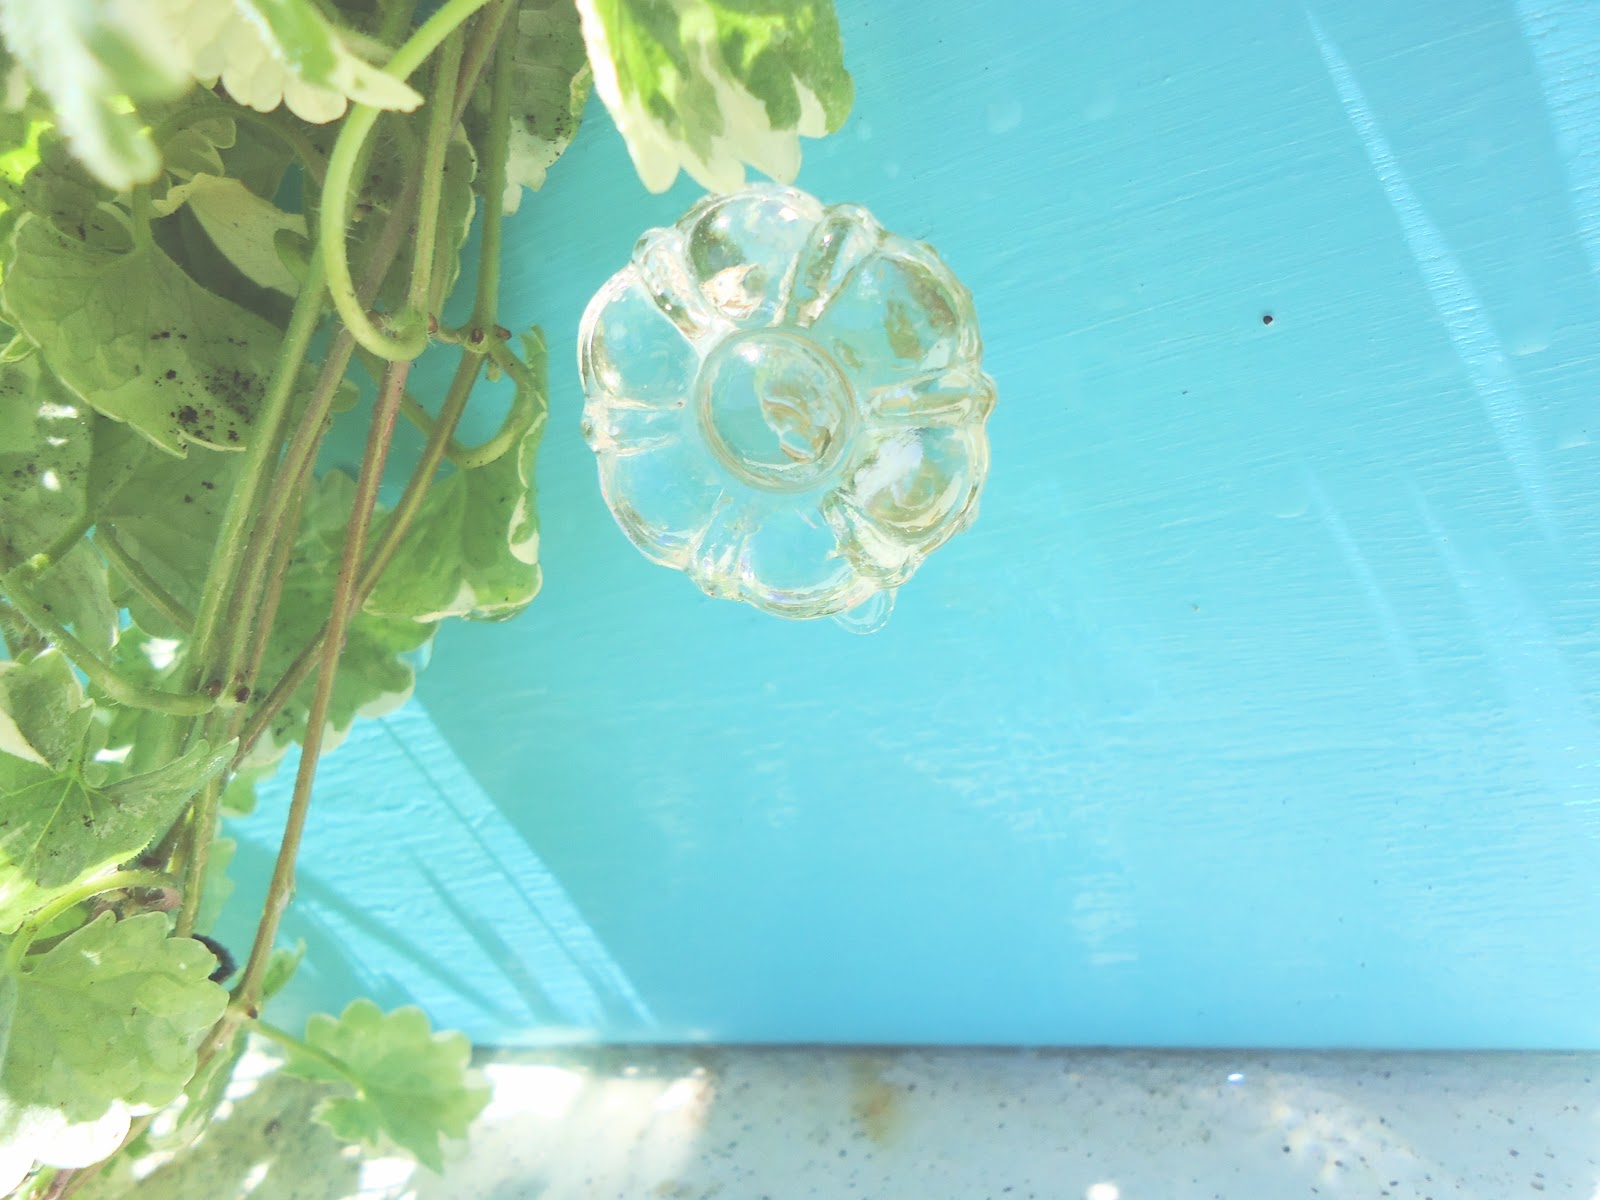


So fun huh!  I love these because they are easy & have so much character.  Oh & cheap too!  :)  (just don't ask how much I paid for all the flowers......I didn't realize how darn expensive plants are!)


Photobucket

Wednesday, June 20, 2012

Shirt/Tie into Tote


Turn an old dress shirt & tie into a tote!  What a cute church bag this would make!  Or make it smaller for your kids to hold their scriptures  :)  Love this fun tutorial.

Found on {Make it or Love it}.  Now go make one for yourself!  I know I'm going to  :)

Photobucket

Friday, June 8, 2012

4th of July Pinwheels


These are soooo easy to make!  My new fav craft because it only takes a few minutes.

All you need is...
cute double sided scrapbook paper
wooden dowels ($1 @ Dollar Tree or Walmart)
stars or buttons for centers
hot glue gun
scissors

Cut different size squares, I did a 3x3 4x4 & 5x5 for these pinwheels.  At each corner cut a line towards the center but not all the way through.  So you will have four slits.  Then take one corner, put a dab of glue in the center & glue down.  Repeat with every other corner.  Pick a center to glue in the middle.  And to finish, glue a wooden dowel on the back.  And you're done!  Make as many as you'd like  :)  You could even add these to a wreath, a picture frame or make a banner out of them.  So many fun possibilities.

Find a cute bucket or jar to hold them in.  You can use styrofoam, beans or marbles to make them hold up straight.


Photobucket

Wednesday, June 6, 2012

Flag Jars


These only take a few minutes!  Love those kind of crafts, don't you?

What you'll need...
jars (on hand)
star streamer ($1 @ Dollar Tree)
flags ($1 for 3 pack @ Target or Walmart)


All you do is fill your jars with the star streamers.  Loop them in a circle so they fill the entire jar.  They will look like this....


Then grab your flags & take off the staples that attach them to the sticks.  Mine only had 2 small staples on them so I could take them off with my hands.  (I know, I'm pretty strong)  Put the flags in the jars in front of the stars so you can see them.  And you're done!


All finished  :)


Photobucket

Tuesday, June 5, 2012

4th of July Plate


This literally takes just a few minutes!  Simple, but a fun addition to your 4th of July decorations.

What you'll need...
Polka dot plate ($1 @ Target dollar section)
Acrylic paint (on hand, true blue)

All you do is paint a "4" on the plate & you're done!  Or you could even use vinyl.  
You can tell my 4 isn't perfect, but I like it  :)


Photobucket

Monday, June 4, 2012

DIY 4th of July Knots Banner


I'm ready & decorated for the 4th at my house!  How about you??
This week I'll be sharing tutorials for cheap & easy 4th of July decorations.  I love to decorate, and love even more when I can make my decorations & pay next to nothing for them  :)

{4th of July Knots Banner}

What you need...
striped ribbon:  $1 @ Dollar Tree
3 star lanterns:  $1 each @ Dollar Tree

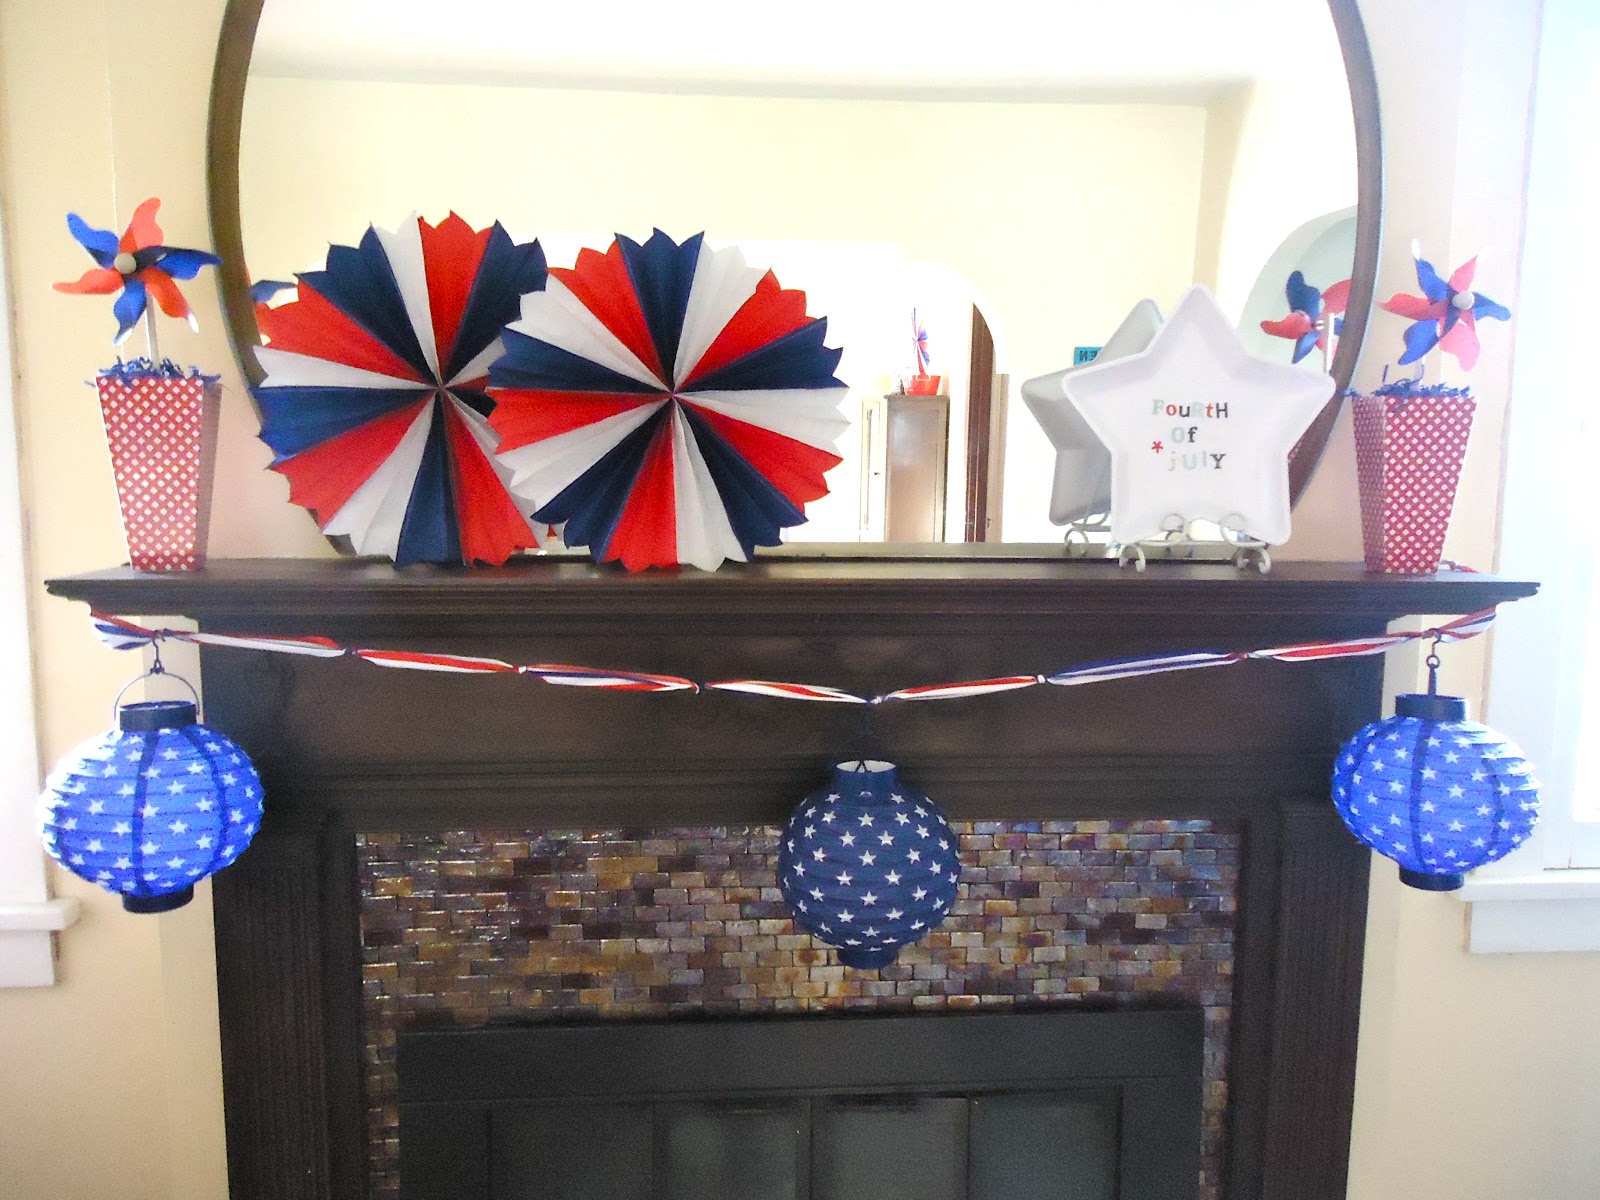
All you do is take your ribbon & tie a knot every 6 inches.  Hang it up wherever you'd like, I put mine on my mantle.  Then hook on your lanterns & you're done!  That simple.


Photobucket

Friday, June 1, 2012

DIY Frame Picture Holder


I saw a similar frame on Linda's gorgeous {Front Room Reveal} from Craftaholics Anonymous.  I knew I had everything on hand to make my own picture frame!  This was so easy, it took maybe 5 minutes.  

All you need is:
frame  (whatever size you'd like)
twine
small clothespin  (you can get a pack at walmart for like $2)
glue gun


Decide where you'd like the top row of twine & glue on the back.  Make sure to stretch the twine when glueing so it's good & tight.


After I glued the top row, I pinned up my pictures so I could see how much room I needed in between the next row.


Continue glueing the twine to make the rest of the rows.
Add your pictures & you are done!  That easy!!


Hung up on my wall  :)  Love it!


I love the details of this frame.


I love that you can switch at the pictures whenever you want.  Now I just need to take more updated pictures with my polaroid!

Photobucket